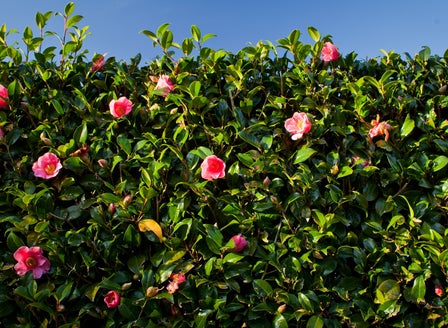
Corokia is a NZ native that is versatile and tough making it a great addition to any garden. In Native gardens it adds structure and interest with its distinctive wiry form and its star shaped small yellow flowers, which are followed by berries bringing birds into your garden.
Planting Calendar
Corokia can be planted throughout the year but do best when planted in Spring and Autumn, giving it time to establish its roots before the heat of summer.
Prepare
Position
Corokia are tough and can grow in full sun to partial shade and are tolerant of coastal windy exposed situations. They can be grown in the garden or as tough container plant.
Soil
When planted into the ground Corokia likes a free draining soil that is rich in organic matter. To improve the organic content in your soil, break up the soil and add Kings Compost and Kings Sheep Pellets then mix together well. When growing in containers, plant into Kings Container mix. This mix contains added water storage crystals and Saturaid, two products that help maintain moisture in the soil.
Plant
When planting into the ground, gently tap the plant out of its pot. Dig a hole twice the depth and width of the plants root ball. Mix Kings Compost into your existing soil at a 50/50 ratio, add Sheep Pellets and Kings 24 Plus Fertiliser, then mix together. Back fill the hole with this soil, so that when planted the top of the plant’s roots sit level with the surrounding ground. Firm the soil down gently and water in well with Aquaticus Organic Garden Booster. In heavier clay soils, where drainage is likely to be an issue, plant onto a raised mound and sprinkle Gypsum Clay Breaker into the bottom of the hole, this helps slowly condition the soil and help to break down the clay. When planting into containers plant into Kings Containers mix, as this has water retention crystals in it, which will help in keeping the soil moist.
Care
Watering
Watering is essential especially in the first year of planting to allow the roots to get well established. Water slowly allowing the water to sink down into the roots, rather than just allowing it to run off the top of the soils surface. Add Saturaid into the soil at planting as this will help channel the water deep down into the root zone. Consider setting up an automatic watering system – these can be simple and inexpensive.
Feeding
When planted in the ground liquid feed every month with Aquaticus Garden Booster, from Spring through to the end of Autumn, this encourages root growth and increases the microbial activity in the soil. Monthly applications of Kings Sheep Pellets will help with soil conditioning and plant health. If planted into a container feed with Kings Liquid Fast Food along with monthly applications of Aquaticus Organic Garden Booster this encourages strong roots and a healthy immune system.
Protecting
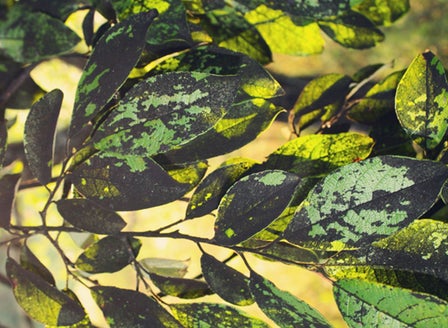
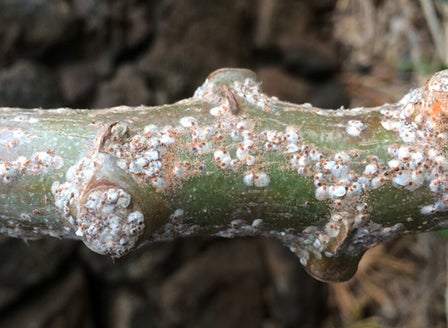
Scale insect can be a problem with Corokia, spray at monthly intervals with Groventive Garden Systemic Insecticide as a preventive measure or for an organic option spray with Aquaticus Bugtriol
Mulching
Mulch around the base of the plants (making sure it is not in direct contact with the trunk) with Living Earth More than Mulch. Mulching helps to reduce weeds as well as aiding the soil to lock moisture in the ground.
Pruning
Regular pruning is essential if you want to create a dense, well-structured hedge. Prune after each flush of new growth. Ensure that you use sharp tools to avoid brown jagged edges on the leaves.
General Care
When using sprays, chemicals or fertilisers always read the label and follow the instructions. Apply sprays in the evening to avoid harming beneficial insects.
Beginner Tip
Beginner Tip Bees and Birds are key to pollination in our gardens. Corokia attracts bees to the flowers and birds (waxeyes in particular) like the berries that are produced after flowering.
Expert Tip
If growing Corokia as a hedge it is important to trim back regularly. This encourages new growth, forming a thicker and more dense hedge.
Top Varieties
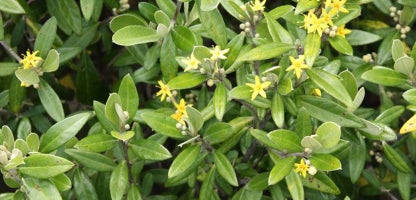
Corokia Geentys Green
Has olive green leaves that are somewhat silvery underneath. This variety prefers full sun and can grow to 2m if left to its own devices. Geentys Green makes a wonderful hardy hedge that can be cut as low as 50 cm.
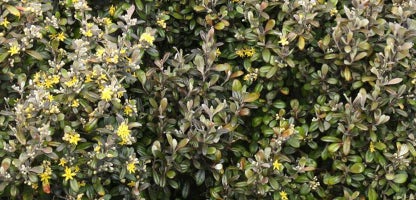
Corokia Frosted Chocolate
Just as it sounds this Corokia has chocolate/bronze coloured leaves with silver underneath. Growing to 2m x 1m it is well suited to exposed sites and partial shade.
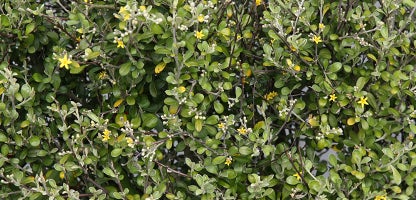
Corokia Emerald N Jade
This Corokia offers something different with its green foliage and twisting silver grey stems. Growing to 1.2m x 0.6m
Frequently Asked Questions
What are Corokia plants, and what are their common uses in gardens?
Corokia, also known as wire-netting bush, is a native New Zealand shrub valued for its dense, twiggy growth and small, attractive leaves. It's often used for hedging, topiary, and as a feature plant in gardens.
What kind of soil is best for Corokia?
When planted into the ground Corokia likes a free draining soil that is rich in organic matter. To improve the organic content in your soil, break up the soil and add Kings Compost and Kings Sheep Pellets then mix together well. When growing in containers, plant into Kings Container mix. This mix contains added water storage crystals and Saturaid, two products that help maintain moisture in the soil.
How often should I water my Corokia?
Watering is essential especially in the first year of planting to allow the roots to get well established. Water slowly allowing the water to sink down into the roots, rather than just allowing it to run off the top of the soils surface. Add Saturaid into the soil at planting as this will help channel the water deep down into the root zone. Consider setting up an automatic watering system – these can be simple and inexpensive.
Can Corokia be grown in pots or containers?
Yes, Corokia can be grown in pots or containers. Ensure the pot has good drainage and use a high-quality potting mix. Water more frequently as pots can dry out faster.
Do Corokia plants need regular pruning?
Regular pruning is essential if you want to create a dense, well-structured hedge. Prune after each flush of new growth. Ensure that you use sharp tools to avoid brown jagged edges on the leaves.
