All About Microgreens and Sprouts
06 Sep, 2022
The difference between Sprouts and Microgreens
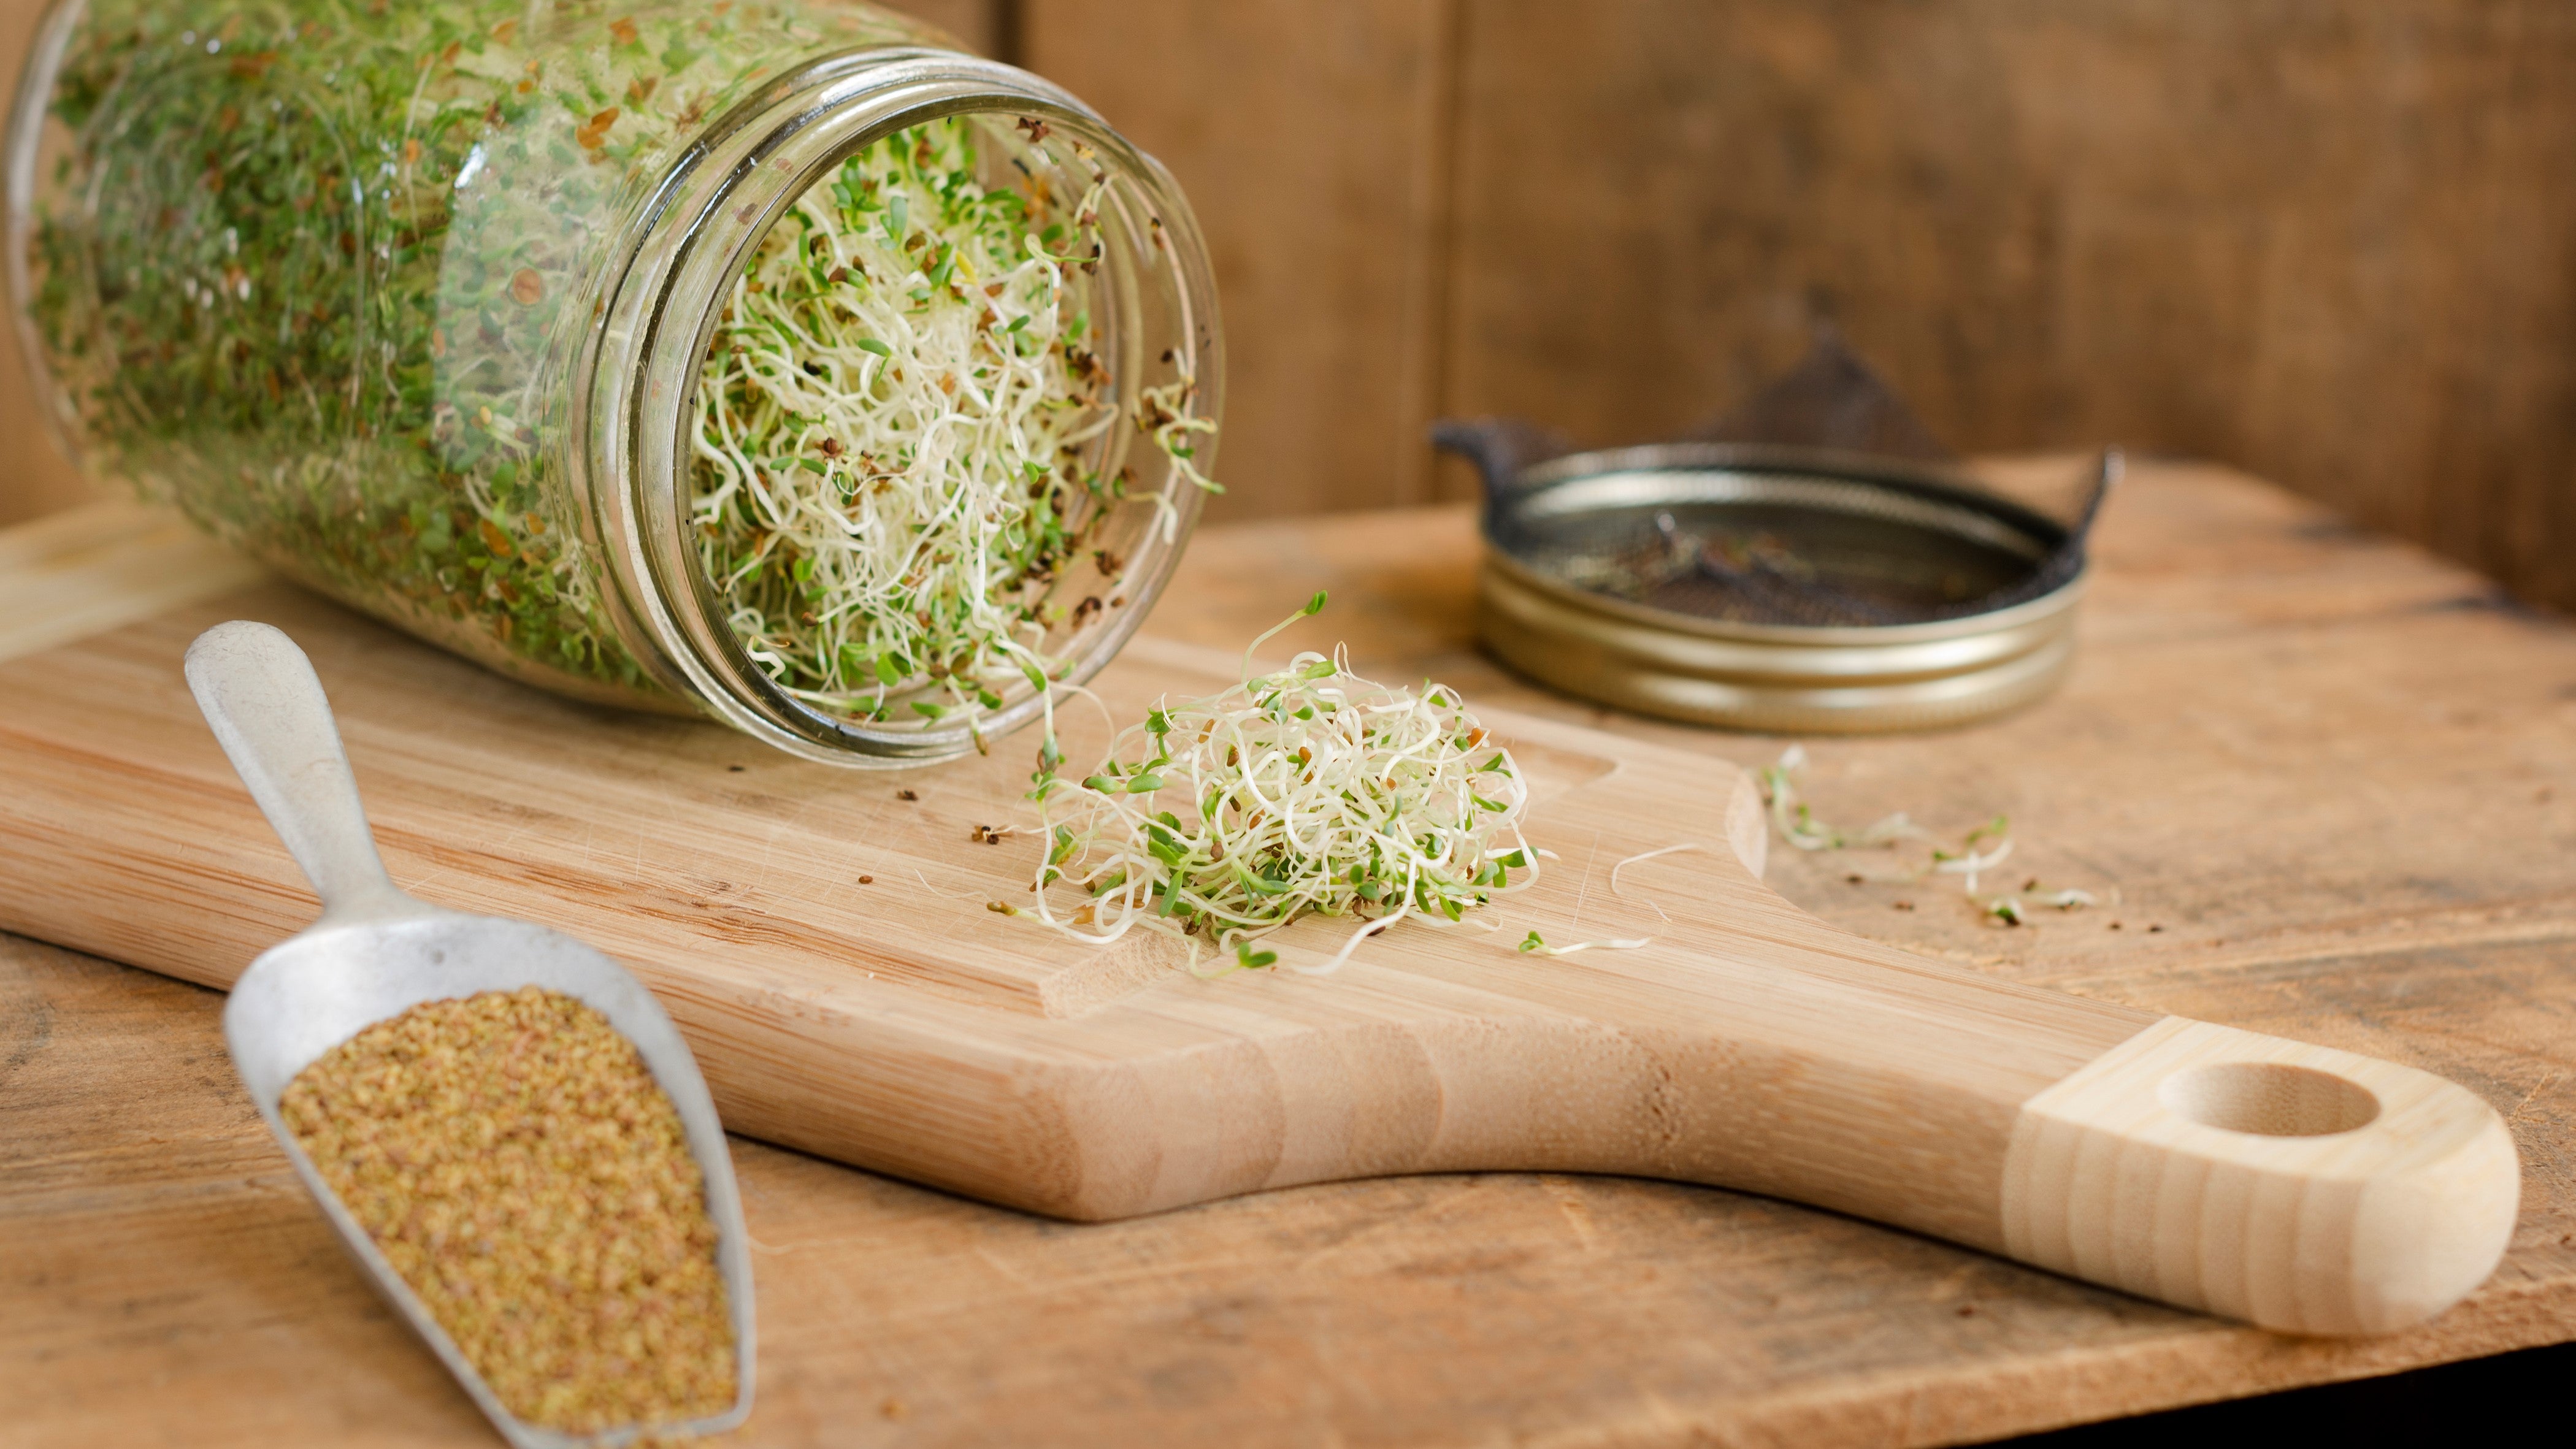
Despite their similarity, microgreens aren't sprouts. The confusion understandably comes from that they are both small, can be grown quickly inside your home, but ultimately both the finished product and the process of production are quite different.
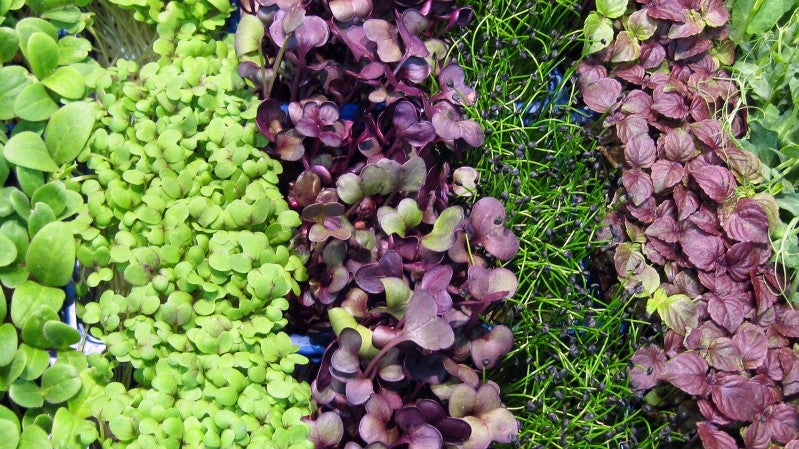
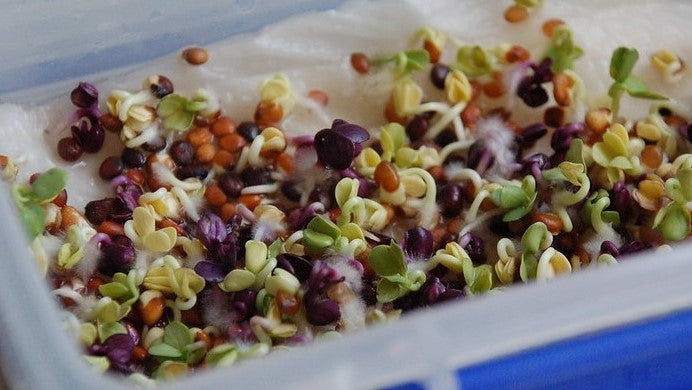
Microgreens are tiny, edible young vegetable seedlings, generally grown in seedling trays, and harvested just after the first true leaves form with a pair of scissors. Whereas sprouts are newly sprouted seeds: the whole seed and newly formed sprout is eaten. And generally growing them requires fewer inputs once you get yourself set up, as the main input aside from seeds is water.
Growing Microgreens
What you need:
Seeds Specific Microgreens seeds are available, the only difference between these packets and other normal seeds is that they tend to contain more seeds per pack. We have a large range of microgreens seeds in-store, but if you're interested in trying a variety of seeds check out our Microgreens starter pack from Kings Seeds which contains several packets of different varieties available in stores.
Microgreen seeds include:
- Basil (Dark Opal and Sweet Genovese)
- Beetroot
- Celery
- Chives
- Coriander
- Cress
- Kale
- Mizuna
- Mustard
- Nasturtium
- Pak Choi
- Peas
- Radish
- Sorrel
- Spearmint
- Wheatgrass
Method
- Fill a seedling tray with seed raising mix to a depth of approx. 2.5cm.
- Sprinkle seeds evenly and generously over your tray.
- Lightly cover seeds with a light layer of seed raising mix.
- Keep seed raising mix moist by misting daily and position in a warm sunny spot.
- Harvest just after they form their first true leaves by snipping them with scissors at the bottom of their stems.
Other Tips
If harvesting a whole tray of microgreens at once is a bit much, sow half the tray now and the other half in 2 weeks time, to stagger your harvest.
Sprouting Sprouts
What you need:
- Seed Sprouter
- Seeds
- Water
Sprouting seeds include:
- Alfalfa
- Radish
- Broccoli
- Lentils
- Mung Beans
- Onion
- Red Cabbage
- Red Clover
Method
- Add seeds to the clear seed trays in your seed sprouter (leaving the very bottom one clear).
- Loosen the water outlet to allow water to drain through.
- Add enough water to cover the water outlet in the top tray.
- Empty the water out of the bottom tray after all the water has drained into it.
- Repeat 2-3 times a day.
- Once they have grown sprout 1-2cm long then they're ready to use. Rinse seeds before use and store any sprouts in a closed container in the fridge.

