A Beginner's Guide to Fruit Tree Pruning
05 Jul, 2022

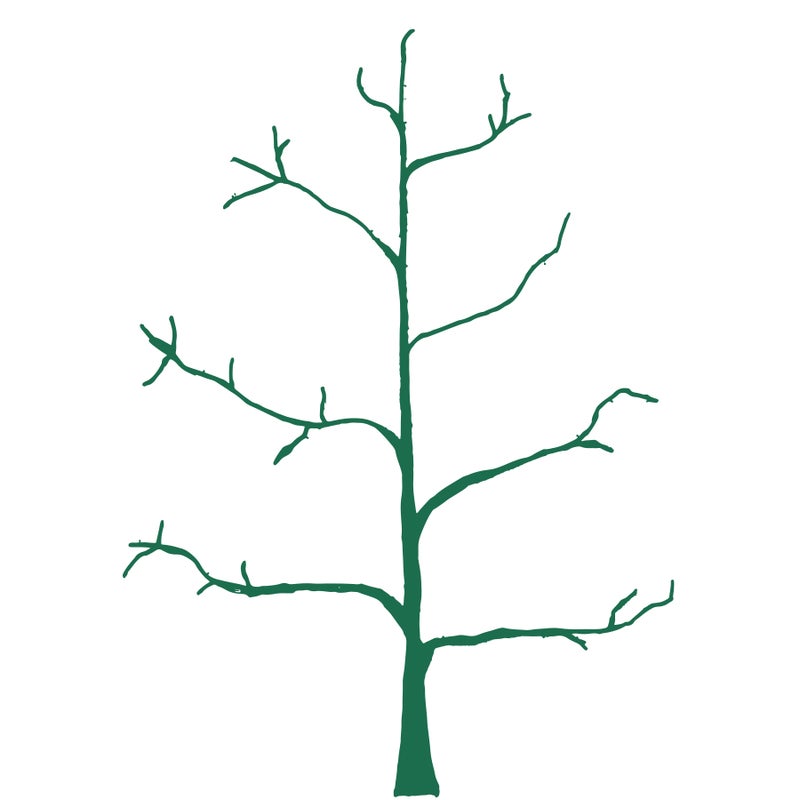
Central Leader
This shape is best used for apples and pears.
- Cut out dead, damaged, and diseased wood.
- Remove small secondary branches coming off a branch that is within a hands span of the main
trunk.
- Prune branches at an angle of 45° sloped away from the trunk.
- Select strong branches that will form layers around the trunk. Each layer needs 50cm spacing,
prune out any branches that are close together.
- Apply pruning paste to each cut, this will seal the wound and protect against pest and disease.

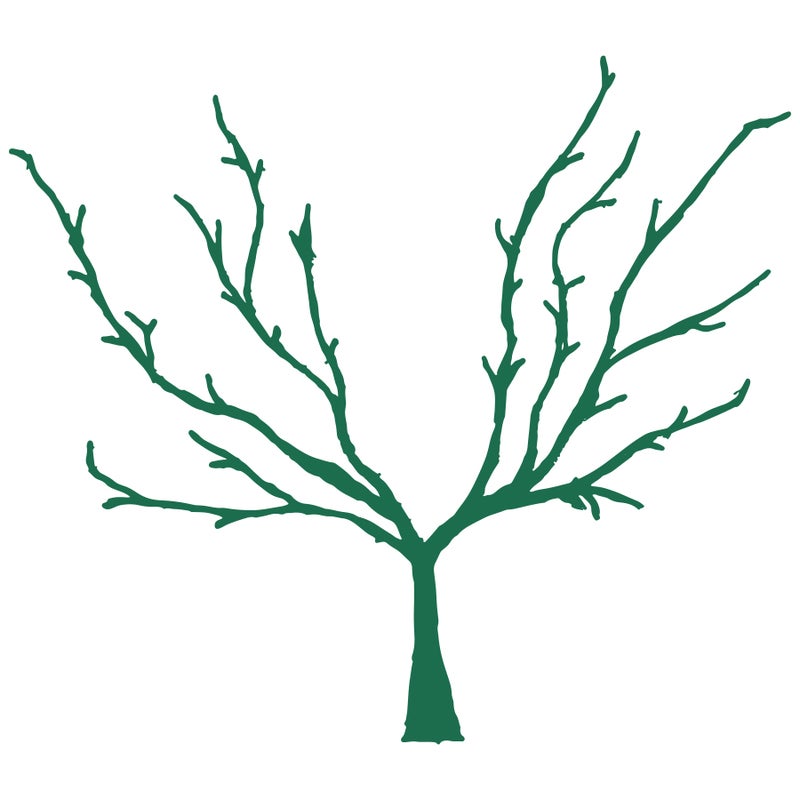
Open Vase Shape
This is the best shape to use for stone fruit, such as peaches and plums. Follow these steps in the first year to establish shape.
- Cut out dead, damaged, or diseased wood.
- Select three strong branches, evenly spaced around the tree to start forming your vase shape.
- Cut out the central trunk to the uppermost branch of your vase, then prune back any other
branches by half.
- Cut out any secondary branches off the three chosen branches that will grow into the vase or
start to cross over other branches.
- Apply pruning paste to each cut, this will seal the wound and protect against pest and disease.

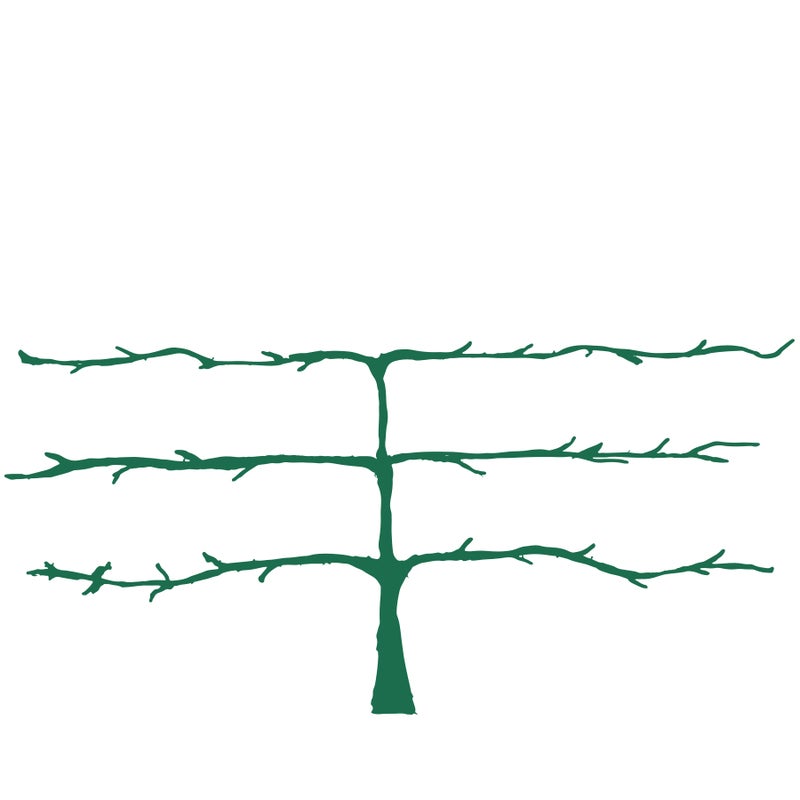
Espalier
This shape is ideal for apples grown on dwarf rootstock (M9) or the dwarf pear Garden Belle. Follow these steps in the first year to establish shape.
- String two wires between posts, positioning the first wire at knee height and the next at waist height.
- Cut the main leader to where you want the lowest set of branches to form – usually where the first
wire is.
- The tree will branch out from where you have cut it back. Select the best three sprouts and pinch off the rest.
- When two of the sprouts grow to about 7.5cm long, make them the horizontal arms and begin tying them along the bottom wire.
- Let the other sprout grow vertically to the next wire and cut it off again. Once this vertical limb has sprouted, repeat the process from step two.
- Apply pruning paste to each cut, this will seal the wound and protect against pest and disease.
Grow Well Tips
- Always cut at a 45° angle sloping away from the trunk.
- Never prune back more than a third of the growth at once.
- When cutting larger branches, remove weight by cutting further up the branch so that the cut does not tear.
- Apply pruning paste to all cuts.
- Prune on a fine day to avoid infection.
- Sharp clean tools are essential.
- Sterilise all tools after pruning each tree, so that pests and disease are not passed from one tree to another.